
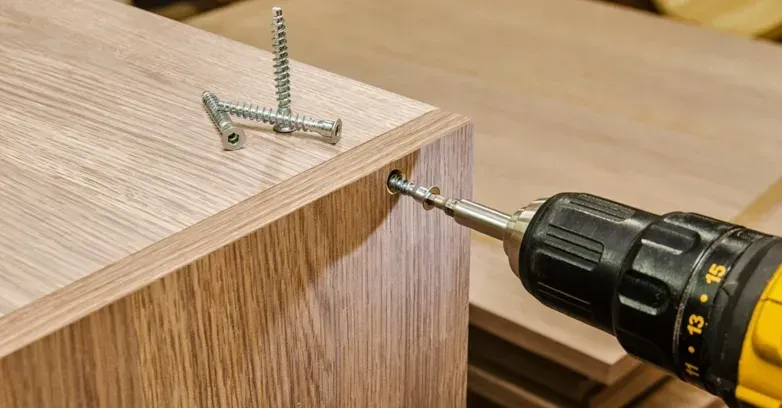
Building a Custom Shed: A Step-by-Step Guide
A custom shed can be a fantastic addition to your property, providing extra storage, a workspace, or even a hobby shop. At Experts Lumber Structures Corp, we understand the importance of creating a space that meets your unique needs. This step-by-step guide will walk you through the process of building a custom shed, ensuring you have all the information you need to get started.
Why Choose a Custom Shed?
Custom sheds offer several advantages over pre-built options. Here are some key benefits:
- Tailored to your specific needs and preferences
- Options for size, shape, and materials
- Increased property value
- Enhanced aesthetic appeal
- Higher durability and longevity
Planning Your Custom Shed
Before you start building, it's essential to plan your shed carefully. Consider the following factors:
- Intended use (storage, workspace, etc.)
- Available space on your property
- Local building codes and regulations
- Budget and material preferences
Choosing the Right Materials
The materials you select will significantly impact the durability and appearance of your shed. Here are some common materials used for custom sheds:
- Wood: Offers a traditional look and is easy to work with, but requires maintenance.
- Vinyl: Durable and low-maintenance, but may have a limited aesthetic appeal.
- Metal: Provides excellent durability and security, but may require insulation for temperature control.
Step-by-Step Building Process
Step 1: Prepare Your Site
Clear the area where your shed will sit, ensuring it's level and free of debris. Mark the dimensions of your shed to visualize the space.
Step 2: Create a Solid Foundation
A sturdy foundation is crucial for your shed's longevity. Options include:
- Concrete slab: Provides excellent stability and durability.
- Wooden skids: Easier to install but may require more maintenance.
- Pavers or gravel: Cost-effective options that can provide drainage.
Step 3: Build the Frame
Construct the frame using quality lumber. Be sure to follow your design plans for dimensions and structural integrity.
Step 4: Add Walls and Roof
Attach the wall panels to the frame and ensure they are secure. Once the walls are up, install the roof structure, considering options for ventilation.
Step 5: Finish the Exterior
Choose your exterior finish based on your material selection. This may include siding, paint, or stain to protect against the elements.
Step 6: Customize the Interior
Consider shelving, workbenches, or hooks to organize your shed's interior. Plan the layout based on how you intend to use the space.
Maintenance Tips for Your Shed
Once your custom shed is built, maintaining it will ensure its longevity. Here are some tips:
- Inspect the roof for leaks regularly.
- Repaint or stain wooden surfaces every few years.
- Keep the area around the shed clear of debris to prevent pest infestations.
- Check for any signs of wear or damage and address them promptly.
When to Call in the Experts
If you're unsure about any step in the process or prefer a professional touch, don’t hesitate to reach out to Experts Lumber Structures Corp. Our team specializes in custom sheds, home improvement, and repairs, ensuring your project is completed to the highest standard.
Conclusion
Building a custom shed can be a rewarding DIY project that enhances your property. By following our step-by-step guide, you can create a functional and aesthetically pleasing structure. For those looking for expert assistance, remember that Experts Lumber Structures Corp is here to help turn your vision into reality.